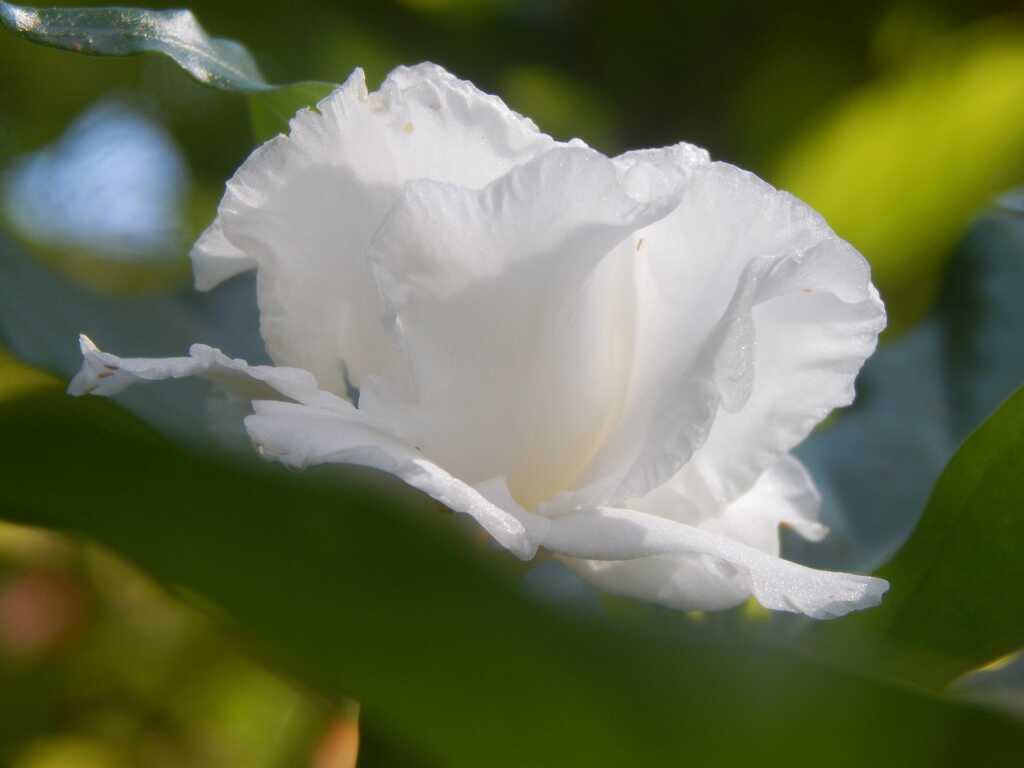
Gardenias (Gardenia jasminoides) are beloved for their fragrant, creamy-white flowers and glossy, dark green leaves. These elegant shrubs are native to tropical and subtropical regions of Africa, Asia, and the Pacific Islands, and have been cultivated for centuries due to their striking beauty and intoxicating fragrance. Gardenias are often grown as ornamental plants in gardens, used in landscaping, or potted indoors where their aroma can be enjoyed up close. However, they have a reputation for being somewhat finicky, requiring specific care to thrive. This guide provides comprehensive instructions to help you grow and maintain healthy gardenias.
Light
Gardenias require bright, indirect light to bloom. If you’re growing them outdoors, choose a location with partial shade, especially in the afternoon when the sun is at its strongest. Too much direct sunlight can scorch the leaves, while too little light can result in poor blooming. For indoor gardenias, place them near a sunny window, but avoid direct midday sun.
Temperature
Gardenias thrive in temperatures between 65°F and 70°F (18°C to 21°C) during the day and slightly cooler at night. They are sensitive to temperature fluctuations and drafts, so avoid placing them near air conditioning vents or heaters. In cooler climates, gardenias should be brought indoors during the winter months or protected with mulch and covers if left outside.
Humidity
These tropical plants require high humidity levels (around 60-80%) to thrive. If you live in a dry climate, consider using a humidifier or placing a tray of water with pebbles near the plant to maintain adequate humidity. Misting the leaves regularly can also help, but avoid getting water on the flowers as it can cause spotting.
Soil
Gardenias prefer well-draining, acidic soil with a pH level between 5.0 and 6.5. Soil that is too alkaline can cause nutrient deficiencies, leading to yellowing leaves. To achieve the right acidity, you can amend the soil with organic matter like peat moss, compost, or pine bark. If you’re unsure about the pH level of your soil, a simple soil test kit from your local garden center can help you determine it.
When planting gardenias in pots, use a high-quality potting mix designed for acid-loving plants, such as those formulated for azaleas or rhododendrons.
Water
Proper watering is crucial for gardenias, as they are sensitive to both overwatering and underwatering.
When grown outdoors, water gardenias deeply and regularly, keeping the soil consistently moist but not soggy. During the growing season (spring to early autumn), they require more frequent watering, especially in hot, dry weather. Reduce watering in the winter when the plant’s growth slows down.
To avoid root rot, ensure the soil has good drainage and never let the plant sit in standing water. Mulching around the base of the plant can help retain moisture and keep the roots cool.
Indoor gardenias should be watered when the top inch of soil feels dry to the touch. Water thoroughly, allowing excess water to drain out of the pot, and empty the saucer to prevent water from accumulating at the bottom. It’s essential to maintain consistent moisture without letting the soil become waterlogged.
Fertilizing
Gardenias are heavy feeders and benefit from regular fertilization during the growing season. Use a fertilizer specifically designed for acid-loving plants, which will provide the necessary nutrients without raising the soil’s pH.
- Spring: Start feeding gardenias in early spring when new growth begins. Use a balanced fertilizer (such as 10-10-10) or one specifically formulated for acid-loving plants.
- Summer: Continue fertilizing every 4-6 weeks throughout the summer. You can switch to a fertilizer higher in phosphorus (such as 10-15-10) to encourage blooming.
- Fall: Reduce feeding in early fall as the plant prepares for its dormant period. Stop fertilizing altogether in late fall and winter.
Pruning
Pruning is essential for maintaining the shape and health of your gardenia plant. The best time to prune is after the plant has finished blooming, typically in late summer or early fall.
- Step 1: Remove any dead or yellowing leaves and spent blooms.
- Step 2: Trim back any leggy or overgrown branches to maintain the plant’s desired shape.
- Step 3: Thin out the interior branches to improve air circulation, which helps prevent diseases.
Avoid heavy pruning in late fall or winter, as this can reduce the number of flowers the plant produces the following year.
Regularly deadheading (removing spent blooms) can encourage more blooms and prevent the plant from wasting energy on seed production. Simply pinch or snip off the faded flowers just below the bloom.
Pests and Diseases
Gardenias can be prone to pests and diseases, which can be particularly problematic if the plant is stressed due to improper care.
Common Pests
- Aphids: These small, soft-bodied insects can cluster on new growth, causing distorted leaves and a sticky residue (honeydew). Treat aphids with insecticidal soap or neem oil.
- Spider Mites: These tiny pests can cause stippling on leaves and fine webbing. Increase humidity and use insecticidal soap or neem oil to control them.
- Whiteflies: Small, white insects that fly when the plant is disturbed. Control with insecticidal soap or yellow sticky traps.
- Scale: These hard-shelled insects can be found on stems and leaves, causing yellowing and stunted growth. Remove scale manually or use horticultural oil.
Common Diseases
- Powdery Mildew: A fungal disease that appears as a white powdery coating on leaves. Improve air circulation and treat with fungicide if necessary.
- Root Rot: Caused by overwatering and poor drainage. Ensure the soil is well-draining and reduce watering if you suspect root rot.
- Sooty Mold: A black, sooty fungus that grows on the honeydew produced by aphids or whiteflies. Control the pests to prevent sooty mold, and clean the leaves with a damp cloth.
Propagation
Gardenias can be propagated through stem cuttings, which is a cost-effective way to produce new plants.
Steps
- Step 1: In early summer, take a 4-6 inch cutting from the tip of a healthy, non-flowering branch.
- Step 2: Remove the lower leaves, leaving a few at the top.
- Step 3: Dip the cut end in rooting hormone powder to encourage root development.
- Step 4: Plant the cutting in a pot filled with a mixture of peat moss and perlite or sand.
- Step 5: Cover the pot with a plastic bag or place it in a propagator to maintain high humidity.
- Step 6: Place the pot in bright, indirect light and keep the soil moist.
- Step 7: After 4-8 weeks, the cutting should develop roots and can be transplanted into a larger pot or the garden.
Conclusion
Gardenias may require a bit more attention than some other plants, but their stunning blooms and sweet fragrance make them well worth the effort. By providing the right light, temperature, soil, and care, you can enjoy these beautiful plants in your garden or home for years to come. With regular pruning, vigilant pest control, and proper watering, your gardenias will reward you with lush foliage and abundant, fragrant flowers each season.